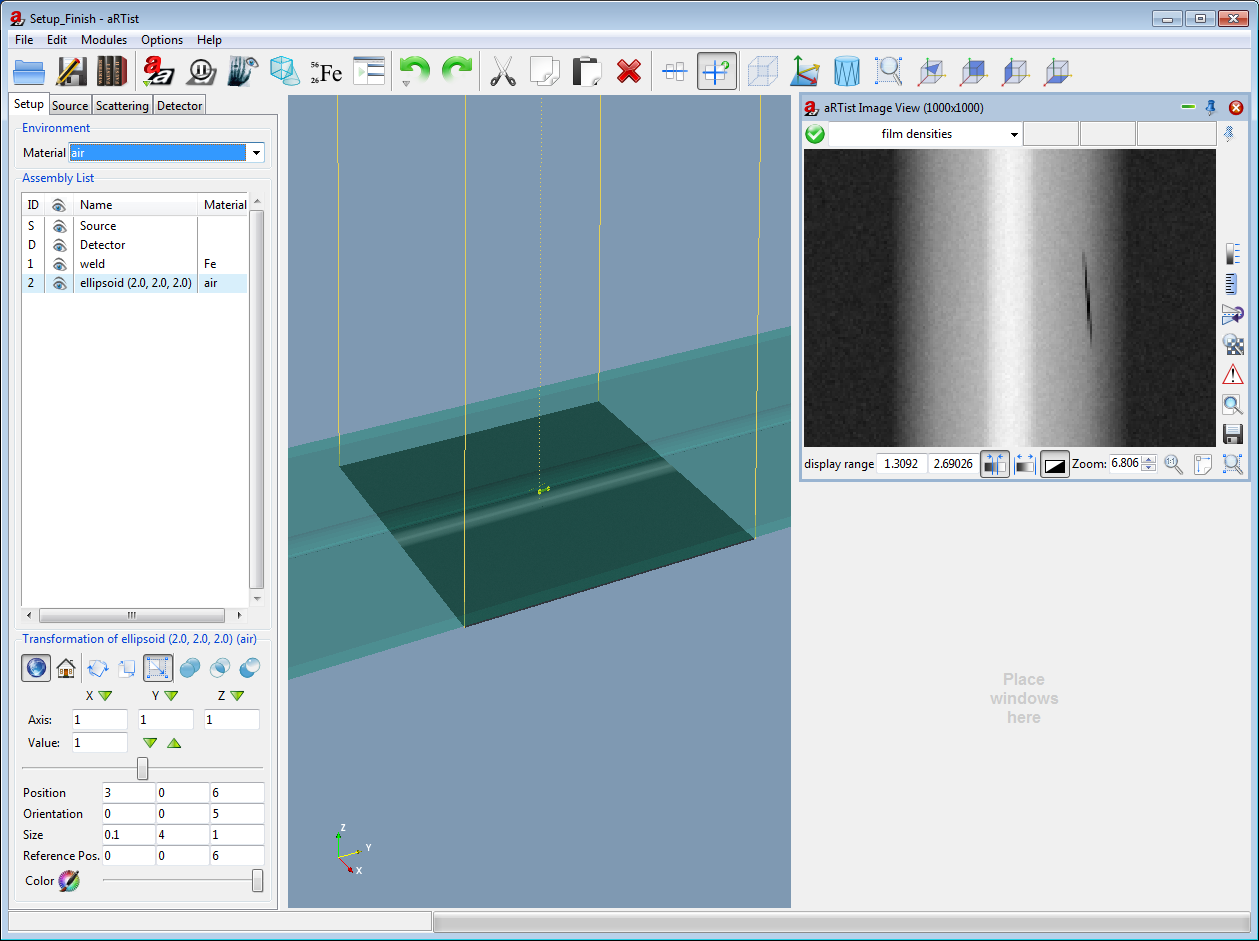
The defect could be seen on every image very clearly, because it is very large (2 mm). We'll change its shape into a more realistic elongated pore at an oblique angle
- Go to the "Setup" tab and select the pore
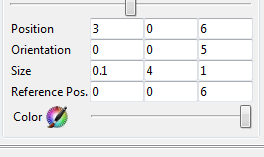
- Enter the following parameters for its geometry

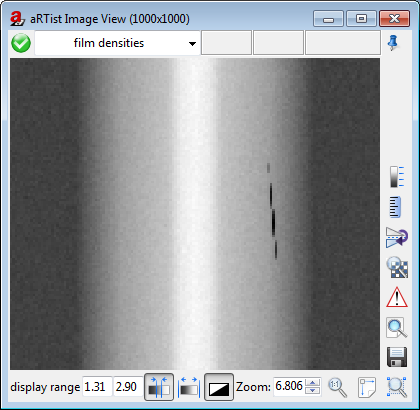
- Compute a final image. You will see that the defect has jagged edges like in the radiograph below

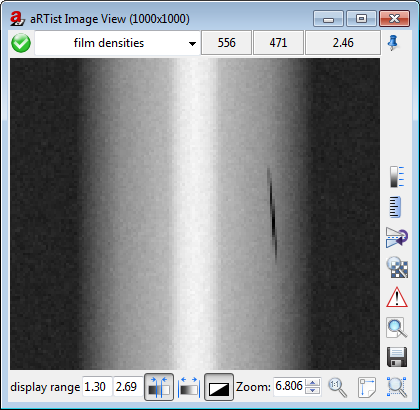
This aliasing comes from the fact that only a single ray is computed for every pixel in the image. The effect becomes especially prominent with objects that are smaller than the pixels. - Go to the "Source" tab and open the drop down list under "Spot type" and select 30. aRTist now considers an extended source focal spot and computes multiple rays per pixel of the final image.
- Compute a final image. This will take some time. In the end, you should have a smooth radiograph of the elongated pore
