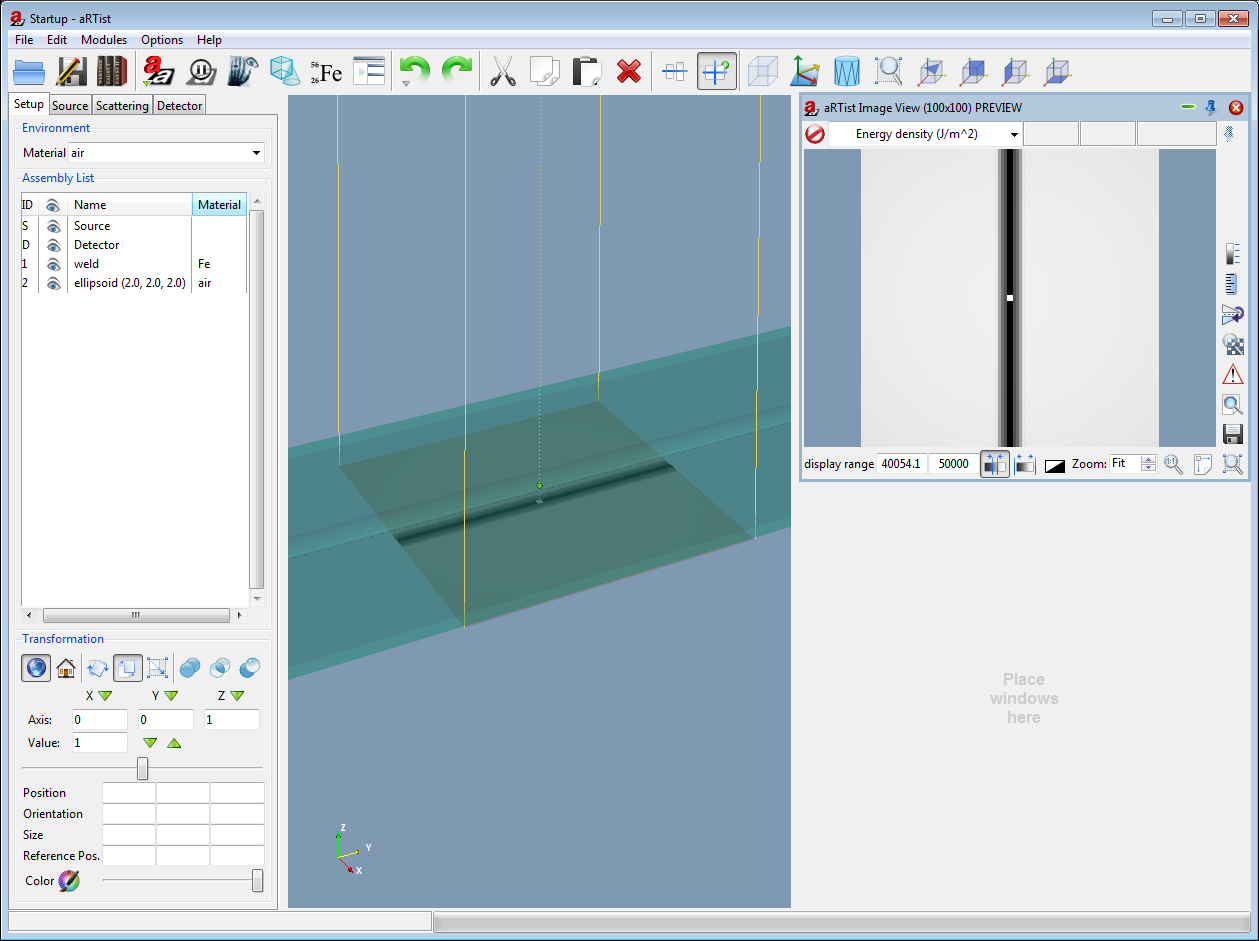
Now that the pore is inside the weld, it can't be seen in the 3D view anymore. Let's improve this:
- Select the weld
- In the bottom row of the transformation settings, there is a button with a colorwheel and a slider. Drag the slider to the left to make the weld transparaent
- Click the color button
 and select a pleasing color.
 - Adjust the 3D view until you have position, where both the weld and the pore can be seen
Congratulations! You have succeeded to build your first radiographic setup with aRTist
Now save your work as a project file
- Click the "Save as" button

- Choose "aRTist project" as type and save your settings as, e.g., Setup_Finish.aRTist
aRTist stores everything inside the project file including the CAD files. This means, you can pass the project around to colleagues who will be able to open and reproduce your simulations
You can download the ready project file for this tutorial here